Let's see step by step how to write a production grade compose file. Here we will use .env file to store secrets and password and use that file to inject value.
Step 1: Create a .env file and docker-compose.yml under root directory of the project. Here we use a .env file to store sensitive information such as secrets and passwords. These values are then injected into the application at runtime. Using a .env file is optional, you could directly write these values in the configuration if needed. However, for security and maintainability, it is considered a best practice to keep such sensitive data in an environment file. Therefore, in this guide we will continue using the .env file to manage these values.
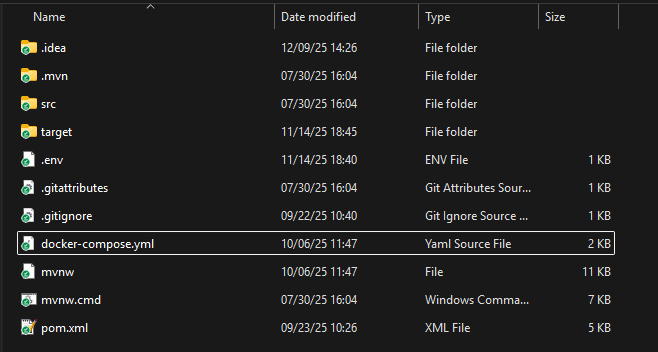
Project folder structure with .env and compose file
Step 2: Before building image create a file which will be used for docker environment. This will contain the properties of the application, whose values will be injected while running in the container.
Application properties file for docker profile
In this example, we will use both a .properties file and a .yml file. The .properties file will contain the default application configuration, while the Docker-specific settings will be placed in the .yml file. When running the application through Docker Compose, we will activate the Docker configuration by setting the profile using the environment variable: SPRING_PROFILES_ACTIVE= this allows the application to override the default properties and load the configuration for the required profile—in this case, the docker profile.
#application.properties filespring.application.name=airBnbApp#DB Configurationspring.datasource.url=jdbc:postgresql://localhost:5432/${DB_NAME}spring.jpa.hibernate.ddl-auto=updatespring.jpa.show-sql=truespring.jpa.properties.hibernate.format_sql=truespring.jpa.properties.hibernate.dialect=org.hibernate.dialect.PostgreSQLDialectspring.datasource.username=${DB_USER}spring.datasource.password=${DB_PASSWORD}admin.email=${ADMIN_EMAIL}admin.password=${ADMIN_PASSWORD}server.servlet.context-path=/api/v1#API to check the holiday date for dynamic pricing#calendarific.api.key=dfX4lzjHKwBxsQO9Uk5gWhlZz04SlO4C#calendarific.api.url=https://calendarific.com/api/v2/holidaysjwt.secretKey=${JWT_TOKEN}frontend.url=${FRONTEND_URL}stripe.secret.key=${STRIPE_API_KEY}stripe.webhook.secret=${STRIPE_WEBHOOK_SECRET}# swagger-ui custom path#http://localhost:8080/api/v1/swagger-ui/index.html#/springdoc.swagger-ui.path=/swagger-ui.html#Cron jobapp.scheduling.cron.price=${PRICE_TRIGGER_DURATION}app.scheduling.cron.booking=${BOOKING_TRIGGER_DURATION}
#reference to the variables in docker-compose.yml either via environment: or env_file:.# StripeSTRIPE_API_KEY=STRIPE_WEBHOOK_SECRET=#JWTJWT_TOKEN=3e5c4a8d041688cc0af2da402d0456fc9193fd74af41e19fa934c2e1992ba4ca# Spring Boot / AppSPRING_PROFILES_ACTIVE=dockerSERVER_PORT=8080PRICE_TRIGGER_DURATION=0 0 * * * *#TRIGGER_DURATION=0 0 * * * *BOOKING_TRIGGER_DURATION=0 */15 * * * *FRONTEND_URL=http://localhost:5173# DatabaseDB_HOST=airbnb-dbDB_PORT=5432DB_NAME=HotelMgmtDBDB_USER=postgresDB_PASSWORD=root123#PG-ADMINPG_ADMIN_USER=admin@admin.comPG_ADMIN_PASSWORD=Root@123PG_ADMIN_PORT=5050#Super UserADMIN_EMAIL=admin@airbnb.comADMIN_PASSWORD=Gr@v1ty
Using Docker Compose with a .env file provides a clean and production-ready way to manage multi-container applications. By separating configuration, secrets, and service definitions, teams can maintain secure, reusable, and easily scalable deployments while keeping environment-specific settings outside the application code.
Want to Master Spring Boot and Land Your Dream Job?
Struggling with coding interviews? Learn Data Structures & Algorithms (DSA) with our expert-led course. Build strong problem-solving skills, write optimized code, and crack top tech interviews with ease