A Complete Guide to Integrating MongoDB with Spring Boot
Learn how Spring Boot application works with MongoDB, create entities with proper annotations, Pagination and CRUD Operations.
Anuj Kumar Sharma
September 13, 2025
5 min read
Welcome back! In our previous post, we got MongoDB up and running and learned essential commands. Now it's time to put that knowledge to work by integrating MongoDB with Spring Boot. If you've been following along, you already know how to query MongoDB from the shell - now let's see how Spring Data MongoDB makes this even more elegant in Java.
This article is part of our comprehensive 4-part MongoDB with Spring Boot series.
Part 1: Getting Started with MongoDB: Installation and Basic Commands
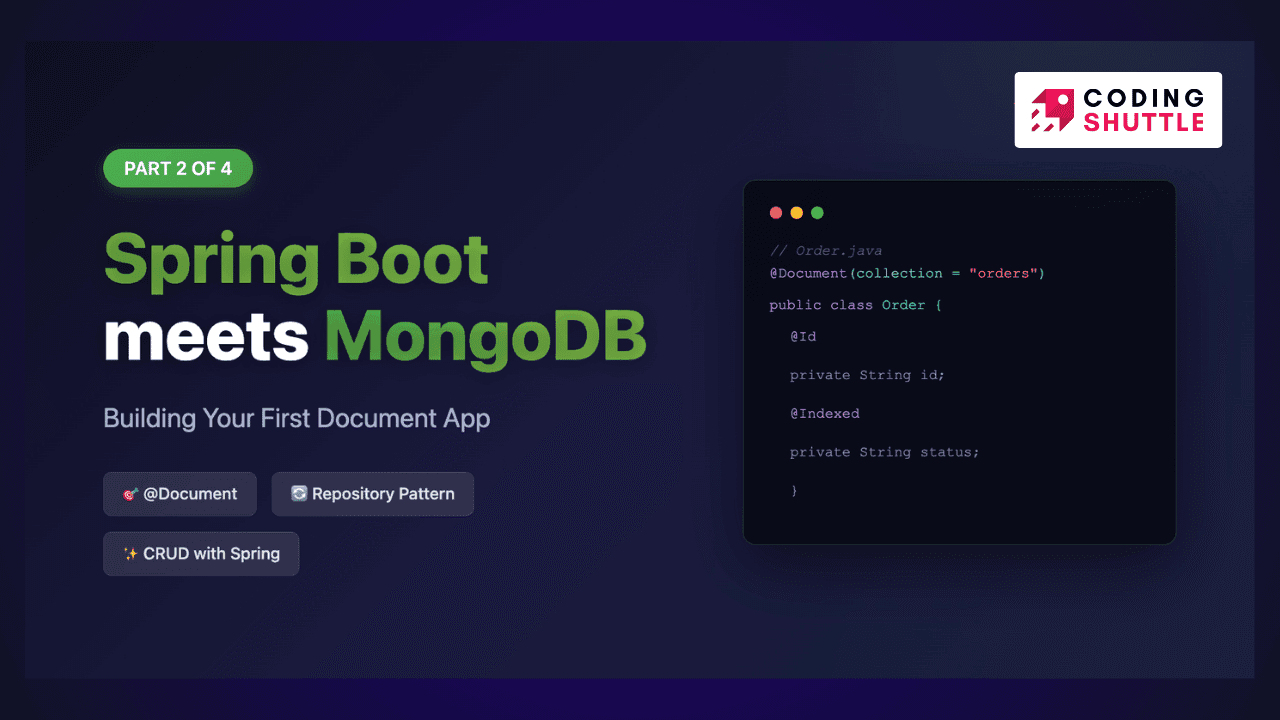
Part 2 (Current): MongoDB with Spring Boot using Spring-Data-MongoDB
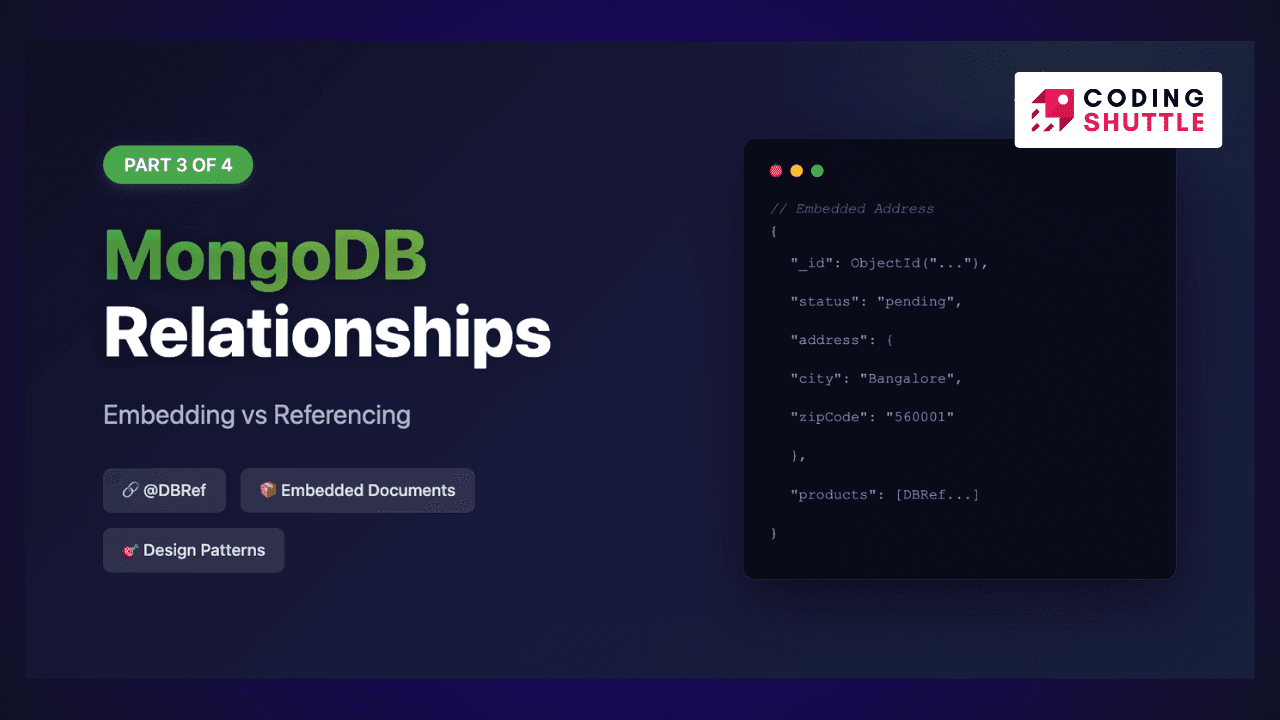
Part 3: MongoDB Relationships in Spring Boot
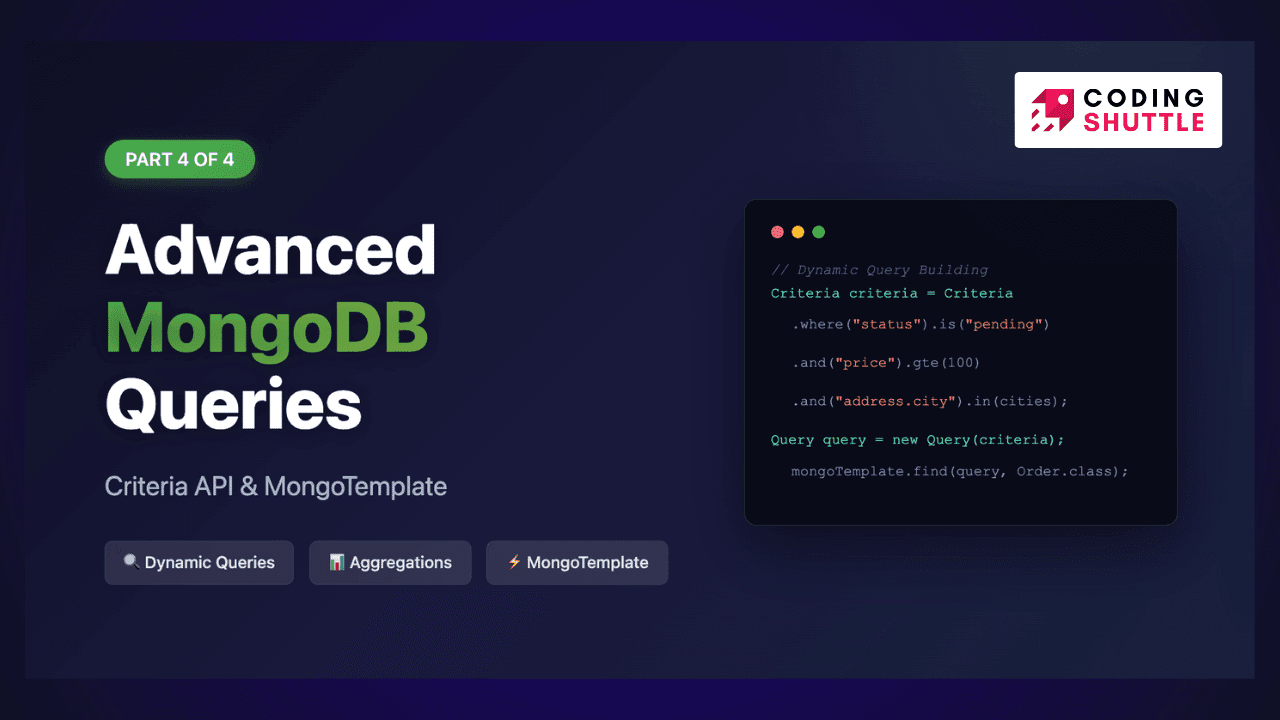
Part 4: Advanced MongoDB Queries: Mastering Criteria API and MongoTemplate
Setting Up Your Spring Boot Project#
First things first - let's create a Spring Boot project with MongoDB support. Head over to Spring Initializr or add these dependencies to your existing project:
Configure your MongoDB connection in application.yml:
That auto-index-creation property is important - it tells Spring to automatically create indexes based on your annotations. Remember those indexes we created manually in the last post? Spring can handle that for us now.
Understanding MongoDB Annotations#
Spring Data MongoDB provides powerful annotations that map Java objects to MongoDB documents. Let's explore the key ones you'll use constantly.
The @Document Annotation#
The @Document annotation marks a class as a MongoDB document. It's like @Entity in JPA, but for MongoDB:
This tells Spring that instances of this class should be stored in the "orders" collection. If you omit the collection name, Spring uses the class name in lowercase.
The @Id Annotation#
Every document needs a unique identifier. In MongoDB, this is typically an ObjectId, but Spring is flexible:
Spring automatically converts between MongoDB's ObjectId and Java's String. You can also use ObjectId directly if you prefer, but String is more convenient.
Auditing with @CreatedDate and @LastModifiedDate#
Want to track when documents are created and updated? Spring's auditing annotations have you covered:
Don't forget to enable auditing in your configuration:
The @Indexed Annotation#
Remember creating indexes manually? With Spring, just annotate the field:
Spring creates these indexes automatically when the application starts. You can verify this in the MongoDB shell:
Creating Your First Entity#
Let's create our Order entity with all the bells and whistles:
The @Data annotation from Lombok generates getters, setters, toString, equals, and hashCode methods. The @Builder annotation provides a fluent API for object creation - perfect for tests!
Repository Pattern with Spring Data MongoDB#
Here's where Spring Data truly shines. Instead of writing boilerplate CRUD code, you declare an interface:
Just by extending MongoRepository, you get:
save()for creating and updatingfindById()for retrieving by IDfindAll()for getting all documentsdelete()for removing documentscount()for counting documents- And much more!
Custom Query Methods#
Spring Data MongoDB can derive queries from method names:
Spring automatically generates the MongoDB queries based on these method names.
Using @Query for Complex Queries#
When method names get too long, use the @Query annotation:
The ?0, ?1 are positional parameters. You can also use named parameters for clarity:
CRUD Operations in Action#
Let's write some tests to see our repository in action. This is where everything comes together:
Reading Documents#
Finding documents is straightforward:
Updating Documents#
Updates are as simple as saving an existing document:
Deleting Documents#
Removing documents is equally simple:
Pagination and Sorting#
Real applications need pagination. Spring Data makes this elegant:
You can also add pagination to custom query methods:
What's Next?#
We have now built a Spring Boot application with MongoDB, created entities with proper annotations, implemented CRUD operations, and even added pagination.
But we're just scratching the surface. In my next post, we'll explore relationships in MongoDB. We will learn when to embed documents versus when to reference them, and how Spring Data MongoDB handles these relationships elegantly.
Next Part here:
Part 3: MongoDB Relationships in Spring Boot
Want to Master Spring Boot and Land Your Dream Job?
Struggling with coding interviews? Learn Data Structures & Algorithms (DSA) with our expert-led course. Build strong problem-solving skills, write optimized code, and crack top tech interviews with ease
Learn more

